Monday 30 November 2015

Plaiting

In another practical lesson we learnt how to plait 3 different ways. Plaits were another big thing for Elizabethan women and their hair, they were good to plait ribbons in and other accessories, they added a simple yet effective extra bit of detailing and another way for the women to show off!

The first plait we learnt was the basic 3 strand plait, this is a plait that most people know how to do, and it is super simple!

What you will need:


  • Pintail Comb
  • Hair Bobbles
  • Hair Brush
  1. Brush the hair
  2. Take a section of the hair that you wish to plait
  3. Split this section into 3 parts and hold with your fingers
  4. Starting from the top wrap the sections over one another, so, if you start with the left section you wrap it over the middle so that the original middle is now on the left, then you wrap the right over the middle section, repeat this until you have no more hair to plait
  5. Secure the bottom with a hair bobble


The next plait that we learnt was a french plait, this is a lot harder to do as you have to take extra parts of the hair into the plait whilst keeping it tight.

What you will need: 

  • Hair Brush
  • Pintail Comb
  • Hair Bobbles
  1. Take a section of the hair that you wish to plait, make sure this section is a bit larger than that of your 3 strand plait
  2. Starting from the top of the head, take a layer and split it into 3 sections
  3. Plait this once just like you did for the 3 strand plait
  4. Now when you go to do the second plait take a section of hair closest to the end of the section you just plaited and add it to that section
  5. Do this for all 3 sections when plaiting and carry this on until you have no more hair to plait
  6. Keep the plait very tight to the head as you can otherwise have a lot of loose hair and it won't look very smart
  7. Secure bottom with a hair bobble
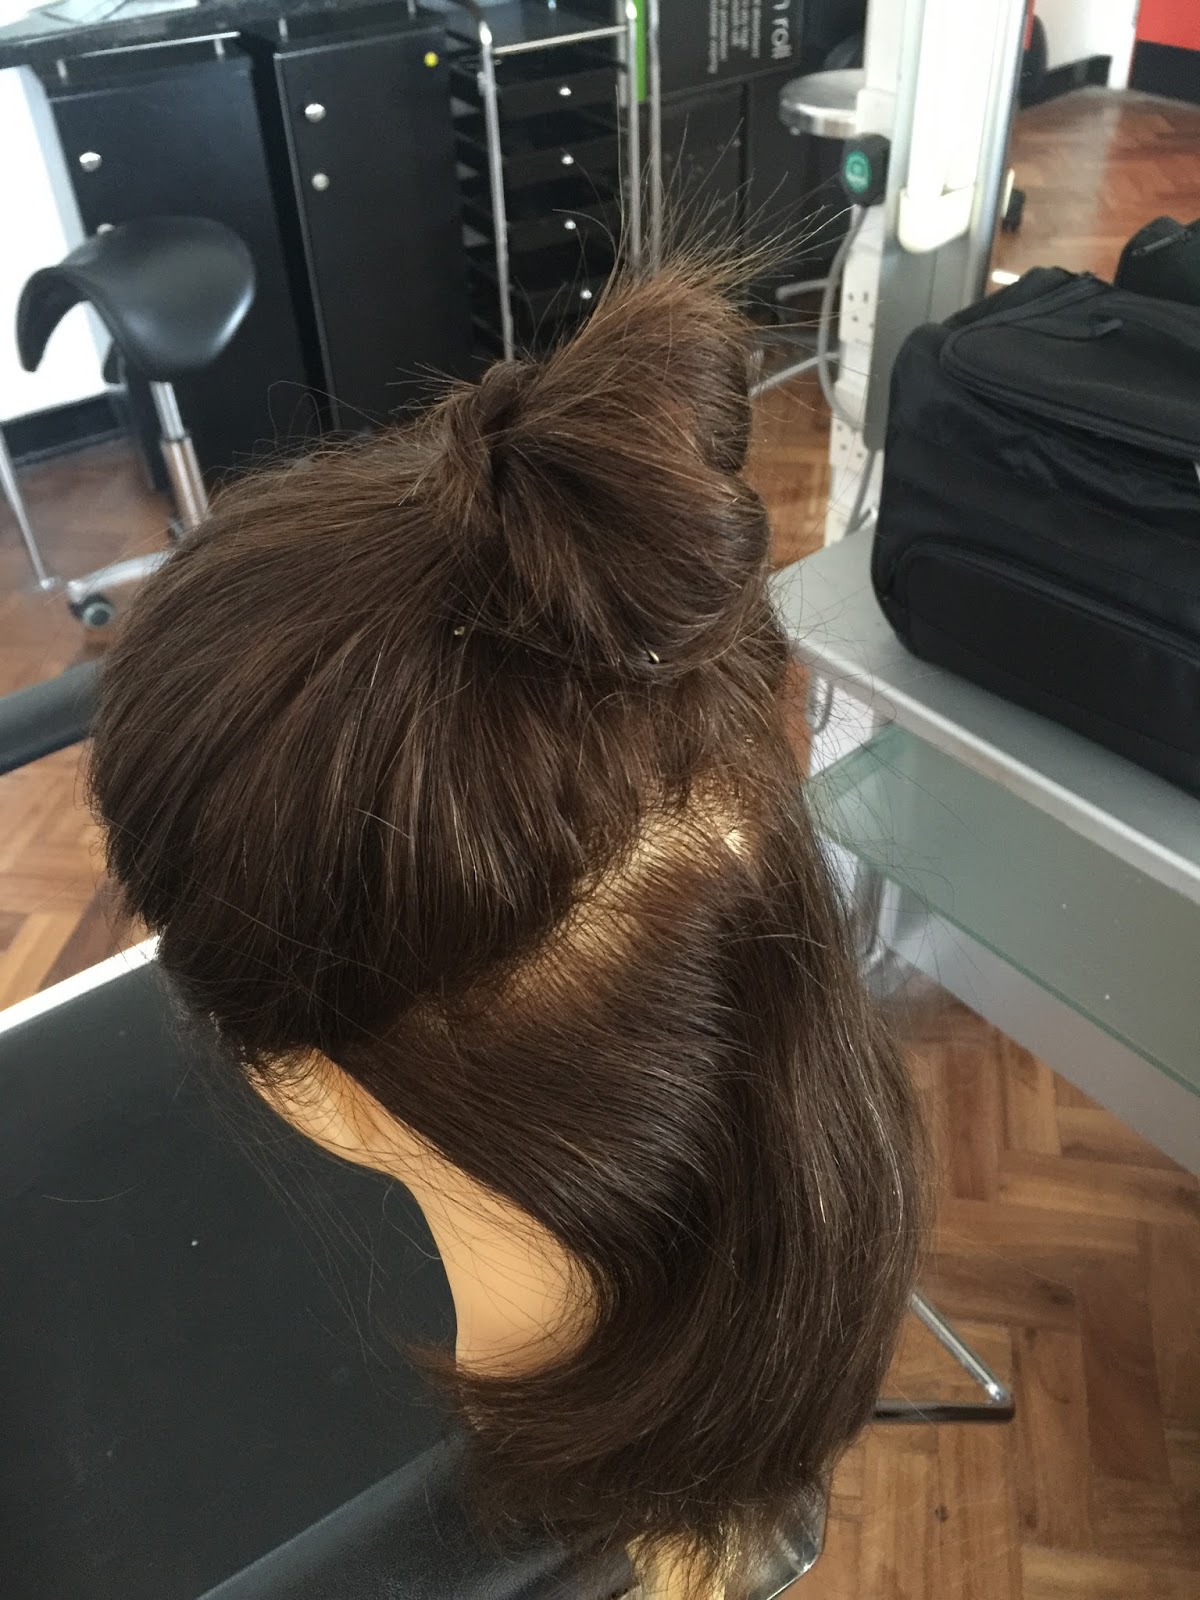
My first attempt at a french plait with just a section of hair chosen

My attempt at a full head french plait, it is a bit loose and I need to practice my tightness more


The last plait we learnt to do was a fishtail plait, I find this plait a lot easier than the french plait as there aren't as many sections you need to worry about.

What you will need:

  • Pintail Comb
  • Hairbrush
  • Hair bobble
  1. Brush the hair
  2. Take a section of hair you wish to use and split it into two parts
  3. Take a small section from the back of one half of the hair, and pull it over its own section passing it to the other section. This now stays with its opposite section
  4. Do the same from the other section now, and repeat it until you have no more hair to plait
  5. This plait doesn't need to be really tight, it looks worse the more tight it is
  6. Secure with a hair bobble 

Buns

In one of our hair lessons we started to learn different buns and how you can form 3 different buns in different ways. In Elizabethan time a lot of Elizabethan women wore buns, it was a simple and neat way to have your hair up and it also looked very elegant. 

What you will need:

  • Brush
  • Pintail Comb
  • Hair bobble
  • Hair Grips
  • Hair Pins

The first bun technique we learnt was the section bun. This is a very simple technique to create a larger, very smooth, rounded bun on the top of the head.

What you need to do:

  1.  Brush the hair getting all tangles and knots out
  2. Take a small/thin hair tie and tie a ponytail at the top/back of the head
  3. Section your hair into 4 parts, these will create the bun shape
  4. Next you take one section of hair and you told it under itself towards the hair bobble to create a section of the bun
  5. Pin it with hair grips to secure it tightly
  6. Repeat for the other 3 sections evenly spacing them out
  7. You need to make sure that the opposite section to the one you are doing is at an even height so the bun looks tidy
  8. Next what you need to do is take your pintail comb or even easier a hair pin and slowly start pulling two sections of the bun together closing the gap in-between them
  9. Once the space is closed use that same hair pin to pin it together to keep it in place, we use a hair pin here because it is easier to fix into the hair for this type of bun and can be easily hidden
  10. Repeat steps 8 and 9 for the rest of the sections
  11. After that smooth over with your pintail comb making sure it is nice and neat
  12. Hairspray if needed

Bun in all 4 sections
This is what the completed bun should look like.


An even shape across the whole bun, nice and neat


The next two buns we learnt to do are very very simple, both wrap around buns, one with a plait and one just twisted.

What you will need:

  • Pintail comb
  • Hair brush
  • Hair pins
  • Hair grips
  • Hair bobble
  1. Brush the hair
  2. Tie the hair into a high ponytail and secure with your bobble
  3. Wrap the ponytail around the hair bobble 
  4. Tuck the end under the bun and secure with a hair grip
  5. Secure the rest of the bun to the head with hair pins
This bun is a lot smaller and tighter than the section bun, but a lot easier and still very effective.


 The last of the buns is the plait bun, with a similar technique to the wrap bun but just with an added plait to it.


What you will need:


  •  Hairbrush
  • Pintail Comb
  • Hair bobble
  • Hair grips
  • Hair pins
  1. Brush the hair
  2. Tie the hair into a high ponytail
  3. Plait the hair doing a simple 3 section plait
  4. Wrap the hair around the hair bobble
  5. Secure the end of the plait under the bun using a hair grip
  6. With some hair pins tidy up the bun and pin down anything that needs to be


Monday 23 November 2015

My Three Hair Charts

I designed three charts for my final hair design all based on Elizabethan looks, we had the choice of bridal looks or more high fashion and I chose the high fashion route to my looks.

On the left is my first hair design, I really wanted to keep the original heart shape to the hair designs I created yet put that contemporary twist into them. Here, I wanted to do a very slick back heart shape just using backcombing that was smooth and neat then at the back it lead into a large fishtail plait that was a little bit more messy. Along the forehead I wanted a plait that would follow the hairline to crest that sharp line you see in Elizabethan hair.

The second design is a lot more contemporary. Here I had the fringe clipped alone the front of the forehead  on one side then on the other side the fringe would go over into a French plait holding the fringe in place. At the back of the hair I wanted two bun-like shapes that were more like roles keeping a cylindrical shape on top of each other with the fringe plait becoming a part of the top role.


This is my third hair design, I wanted to create a slick back look yet super contemporary. The front I still wanted the heart shape but I wanted it a tad more messier than my other designs, this would be crimped and back combed and have padding to create a large messy shape! I also kept the plait along the forehead to keep a very tight front hair line and to keep it more modern. The back I wanted to keep very smart, I want it to be super straight and then at the bottom to have one big curl to creat a fierce look to the bottom of the hair. This is the design I have chosen to be my final hair design.

Wednesday 18 November 2015

Curling Hair

Another technique that we learnt was curling the hair and ways to pin it and ways to drape the curls.

What you will need:


  •  Pintail Comb
  • Hair Slides
  • Clips
  • Curling Wand
What you need to do:

  1. Split the hair into three sections, the top half then the bottom half in 2
  2. Clip back the top half and one of the other halves of the hair and start with the half you left hanging
  3. Start at the bottom of the section, separate a layer of hair creating a perfect straight parting between the layer you are curling and the layers you aren't yet
  4. Clip back the extra hair
  5. Section these and start curling
  6. Take a secting and place the curlers at the bottom of the hair
  7. Roll the curling wand towards the scalp of the head
  8. Do not roll it in the direction that when first rolled it goes over the clip bottom of the wand because you will end up with a kink
  9. Once rolled gently pull out the wand and pin using some grips
  10. Then repeat. This time though roll the opposite direction to the way you first did and pin again.
  11. Repeat this until the whole head has been curled.
  12. Leave the curls to cool then remove the pins and brush out.
The hair with bottom 2 sections finished.

Everything all pinned up.
Curls have cooled and the pins have been removed. 
After hair has been brushed out.


Another technique we learnt was more about the positioning of the curls itself to create a type of rainfall technique that covers all of the sections of curls you create in the hair.


You will need the same things as the previous curl tutorial.

  1.  Section the hair into three parts using your pintail comb and clips, then start from the back
  2. This technique is all about creating the different layers, here it is quite structured you have the 1 curl at the top, then 2, then 3, then 2, then 1 this makes sure that all layers are covered.
  3. Start from the top and section a layer to create the top 1 curl, make sure it stays straight, then pin.
  4. Do the same all the way to the bottom remembering to create the correct number of curls as planned.
  5. Leave the curls to cool then brush out.


Crimping and Frizzing

Crimping


What you will need:
  • Crimpers
  • Pintail Comb
  • Clips
What you need to do:

  1. Split the hair in half giving your model a centre parting using your pintail comb
  2. Clip back one half of the hair
  3. Take the section of the hair that you haven't pinned back and start from the bottom sectioning small square parts of the hair, crimping down from the roots.
  4. Do this until the whole head of hair is crimped or the section that you want specifically crimped
  5. Then brush it out

Rick Racking:


What you will need:

  • Pintail Comb
  • Grips 2 types, Pin and Grip
  • Straighteners
What you need to do:

This is a very time consuming process and can be used when you want a tighter crimp or if you don't have crimpers themselves. I'd recommend doing this technique when you have smaller areas of hair that you want to crimp.

  1. Take a small section of hair from where you want the crimp to be and place the hairpin in with the join at the bottom and the spikes facing away from the scalp
  2. Split that section of hair in two and make a figure of 8 around the pin sides
  3. Keep it very tight
  4. Once the hair has been wrapped around the pin take a pair of straighteners and hold them over your plait you have created.
  5. Then take out the pin and brush out


This is what the hair looks like after it has been crimped using the figure of 8 way. It is a much tighter crimp that makes the hair look more afro-like. Very good if you are creating a hair design that needs a lot of structure.

Padding and Backcombing:


There's a few ways of creating the heart shape that the Elizabethan women wore. Here we tried 2 ways, 1 backcombing and the other was padding.

On the left hand side is the padding, this created a much neater and rounder heart shape.

How it was done:

What you will need:
Padding:
  • Pair of tights
  • Toilet Roll/Soft Paper
  • Scissors
To create the padding:
  1. Cut the ends of the tights off around the length of 15-20cm for the size I have created here.
  2. Fill the ends with the paper of your choice
  3. Tie the ends to the tights and you have created the padding
To create the look:

What you will need:

  • Pintail comb
  • Grips
  • Padding
What you will need to do:
  1. Take half of the hair you have crimped keeping the centre parting
  2. Place the padding close to the scalp under the hair so that it wraps over the padding hiding it
  3. Wrap the hair over the padding and tuck the leftover hair underneath
  4. Pin very tightly in place
On the right hand side was my backcombed look.

What you will need:

  •  Pintail Comb
  • Grips
What you will need to do:

  1. Take your half of the hair or the part you wish to backcomb keeping the centre parting in place.
  2. Take your pintail comb and section the hair in layers
  3. Start by brushing the hair down towards the roots keeping the back comb tight to the roots to give the hair volume and structure
  4. Back comb all the separate sections
  5. Once everything has been backcombed you fold the hair over creating the basic heart shape
  6. Adjust the hair to the height and shape you desire
  7. Pin tightly into place with grips
  8. Smooth the backcomb on the front by gently brushing over if wanting a neater look
Upon practicing these two techniques I found that I much preferred the backcombing as it was a lot easier to create the heart shape as you didn't have to fiddle around with the padding and you could adjust the shape and height of the heart shape a lot easier. It created a much bigger shape too which I preferred.

The heart shape using crimp then padding.


The heart shape using crimp then backcombing.
The plaiting technique to create the heart shape is the final design we learnt, this is just to make sure that there is a bit of structure behind the hair to hold it into place

What you will need:

  • Hairbrush
  • Pintail Comb
  • Hair grips
  1. Brush the hair
  2. Take a section of hair that you wish to create the heart shape with
  3. Clip that section of hair away as you won't need it for now, drape it over the face to keep it out of the way
  4. Behind that section of hair take a smaller section of hair, this is for the plait that will keep the structure, make sure this section is very tight to the section you want the heart shape to be
  5. Plait the smaller section alongside with the parting of the plait and the heart shape section you chose, so it is going the opposite direction to the rest of your hair
  6. Secure that with a hair grip keeping the hair grip hidden
  7. Next take your heart shape section, and back comb it from the roots up
  8. Fold it over the plait and tuck the end of the section underneath itself
  9. Secure with hair grips