Thursday, 3 December 2015

Backcombing and Crimping Research

Here is a look created by backcombing the hair to get that messy ponytail and also to create that quiff  look at the front of the head, here, you could also use some padding to get that big roll over effect.
  • (Follow us, 2012)
Here is a full head that has been crimped and then styled, I would imagine that there was padding used here to create the shape.
https://s-media-cache-ak0.pinimg.com/236x/c9/ce/3d/c9ce3dce0e131372efcb82271c2d828a.jpg
Heres a hair design that has been both crimped and backcombed to create a big voluminous hair design
.
  • (hunsleyr, 2011)
Here's a crimp that has been brushed out at the bottoms and just left hardly styled.

http://www.girlsgonehair.com/wp-content/uploads/2013/07/crimped-hair.jpg
I like this hair style because the bottom of the hair is crimped, then right at the top it is left  and the bottom is also backcombed. It does look really messy but with the crimp in the middle it looks really structured and thought out.

http://static1.hairstyle.com/articles/5/21/25/@/6335-messy-halfup-crimped-hair-905x0-2.jpg
At the Stella Mccartney S/S 2015 show she used crimp in her hair designs for her catwalk tied up in a simple low ponytail, very simple yet still very effective.

http://www.lefashion.com/2014/10/hair-inspiration-crimped-ponytails-stella-mccartney-ss-2015.html


Bibliography

Follow us (2012) Available at: http://flatironexpertsblog.blogspot.co.uk/2012/08/how-to-tease-backcomb-your-hair.html (Accessed: 3 December 2015).
My other Blogs: (2014) Available at: http://www.lefashion.com/2014/10/hair-inspiration-crimped-ponytails-stella-mccartney-ss-2015.html (Accessed: 3 December 2015).
hunsleyr (2011) Big hair at Berlin fashion week. Available at: http://www.hji.co.uk/hair/big-hair-at-berlin-fashion-week/ (Accessed: 3 December 2015).
(no date) Available at: https://s-media-cache-ak0.pinimg.com/236x/c9/ce/3d/c9ce3dce0e131372efcb82271c2d828a.jpg (Accessed: 3 December 2015).
(no date) Available at: http://www.girlsgonehair.com/wp-content/uploads/2013/07/crimped-hair.jpg (Accessed: 3 December 2015).
(no date) Available at: http://static1.hairstyle.com/articles/5/21/25/@/6335-messy-halfup-crimped-hair-905x0-2.jpg (Accessed: 3 December 2015).

Corrie Nielsen LFW 2011

In 2011 Corrie Nielson showed her collection 'A Winter's Dream'. This collection was inspired by Elizabethan times and the women back then. With mostly black and white colouring, the clothes were clearly inspired by the Elizabethan era, with corsets, ruffles, big shoulders and puffed sleeves.

I love this hair design that was featured on the catwalk with lots of backcombing a big messy heart shape hair design that still manages to look rather classy still.

http://metro.co.uk/2011/02/18/london-fashion-week-corrie-nielsen-shows-her-elizabethan-inspired-collection-639759/
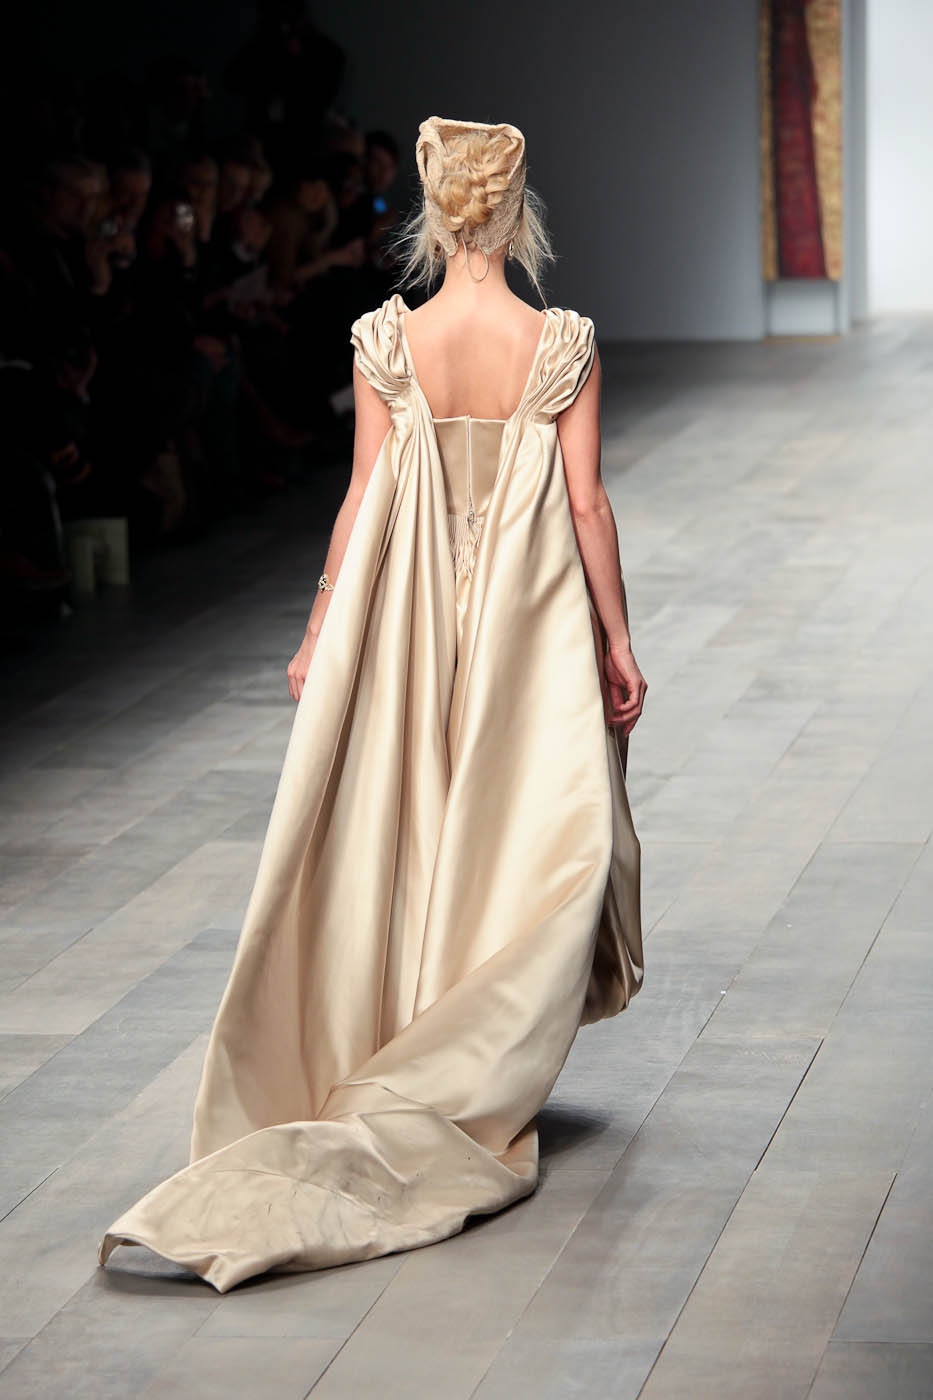
I love the headpiece here on this model and how the back of the hair is the main focus here.

https://blogger.googleusercontent.com/img/b/R29vZ2xl/AVvXsEhzaRNSg9hWjr66wpA-EH44m2kUzXv0syOW0f7Uy06gSUT9RZm7G2eB0za-3vypFsW_Coyu-rEXJp-keBuB6dkEdbmzZME6LFHMmJtZVRERF6K6NYHWVPlF2JFbu2_kR7pA70fIh_8sK_I/s1600/CorrieNielsonAutumn201126.jpg
There was a lot of this large backcombed heart shape featured in the catwalk and I think it just looks amazing, I really like this one as it looks like it is tilted at an angle which is making it look like its swaying.

  • (London fashion week: Corrie Nielsen - autumn/winter 2011, no date)


Inspiration Pinboard

Here are some pictures from my pinboard on Elizabethan hair. These are some of my favourites which have all helped me with designs for my final hair.

https://www.pinterest.com/annabelrosemary/elizabethan-hair/


Inspiration For My Final Hair Design

I wanted to get a few images together to start my ideas going and to inspire me for my hair designs, here are a few pictures of some hair looks that I liked that helped me get to my final design:

  • (2006 plait fringe hairstyle - Hairstyle gallery, 2000)
I really like this twisted plait that goes across the forehead because it is bringing the hair over her head yet its still giving a lot of the forehead and a clean cut hairline at the front.

  • (Hairstyles, 2013)
I chose this also because of the plaited fringe but here I like how there are plaits on with side of the fringe really framing the face here.

  • (Sarah+Bull, 2013)
This hair design I really love, I feel as if the plait is creating a bun look at the back of the head and i love the size of the plait and how large it is and what a beautiful effect it has created.

  • (Vintage Hairstyles, 2014)
I really like this bob effect on the hair here and how there are large structured curls at the bottom of the hair making the hair look shorter. I like how clean cut and perfect it is also.

  • (2015 faux Bob Hairstyles, 2016)
I find this design really interesting how the curl is going the other way back into the hairline and how it is so structured.

  • (Warren, 2014)
I wanted to keep something in my hair design quite traditional and I knew that that was going to be the heart shape that Queen Elizabeth was always seen sporting. 

With all of these pictures and designs in mind I came up with the final design that I absolutely love.


Accessories

Accessories in the Elizabethan era were very big, as for the women the more you show off the better. Hair accessories were a big part too, like ribbons, gems and jewels, feathers and anything else that they could put in their hair to show off their wealth and status.

Ribbons

  • (DIY braids and Hairstyles, 2013)


  •  (4 braided Hairstyles for long hair, 2015)
  •  
    You can easily add a ribbon to plaits and twists within a hair design you just simply tie it to the top of the plait or hair twist you wish to use and incorporate it into the design, if its a plait add it to one of the sections of hair, the twist you just twist it in and so forth, this adds an extra pop of colour and dimension to a hair design and gives it a nice finish.

    Jewels

    • (Back to topArtist, 2015)
    A lot of victorian women wore  jewels in their hair, mainly pearls. Pearls were a sign of purity and they were easy to clip into the hair. Nowadays you can get pearls on pins, clips, slides, everything that can make it easier for you to use. You can also use old necklaces, bracelets and earrings.

    Little diamonds and crystals were also stuck into the hair, rubies and other gemstones were also used too.

    Other

    Why not try adding old broaches into your hair design? They already come with a clip t easily slide into the hair and they add that extra bit of sparkle to your design.

    • (Vintage hair...), 2015)


    Wednesday, 2 December 2015

    More Modern Hair Designs


    I absolutely love this Alexander McQueen design, the hair just looks fantastic! I love how it is really messy yet it still manages to look classy and elegant, there was definitely a lot of backcombing involved to create this heart shape and I really like how it is so big and rounded.

    • (News - new fashion 2013, latest fashion news for women & men 2013, 2009)
    This design on model Lily Cole I really liked. I love how it is a real contemporary design yet there are definitely hints of Elizabethan history in the design. The design has that heart shape but it looks sort of reversed with the middle parting at the top and the actual shape of the hair is at the bottom with a level top. The hair is big and bold which I really like and I love how messy it is yet still looks very classy.

    • (Justneeks and profile, 2013)
    I find this design really cool, the way they have created the heart shape but completely changed  the hair and how it looks by making the heart shape pointed and with a strange criss cross effect throughout right on the top of the head. Something that nobody would really think about to do and then I really like how they still have managed to keep the high forehead yet have the curl details there too and how they have painted the hair yet the redness of the models hair peeps through creating more depth to the hair. Such an ingenious hair design.

    http://api.ning.com/files/kV4MbYiv7oQl37D17XcbF3BHxZZv7Bz5BuAsj0PDBLcS1bvLBlVUGe8kN9Ip3lJ9uWoj7JdAnfVgS0e
    A2KEXgyRGSGn8Nbc9/1082087472.jpeg (Accessed: 3 December 2015).


    Practice of Hair Design

    I really liked the hair design that I got given by my partner, Ellie. At first I thought the hair design looked far too simple and easy but when it actually came to practicing it, I found it a lot harder as it was the little details that needed to be perfected which made it tricky.


    For the hair design Ellie wanted three clear sections to the head so what I first did was separate the hair into the sections I wanted. This was actually quite a hard thing to do as you had to work out the perfect size of the sections so that later on I could join all the different parts up. I then crimped the top two sections of the head that would create the heart shape and then back combed those sections and used padding to create the heart shape. This was fine as I had done this in previous lessons. 


    Then it was time to tackle the bottom section, this I found a bit more difficult. I crimped the bottom half of the hair and then divided that section into two for the padding to go in later on. I started with the left hand side and used the padding, I found it a lot more harder doing the bottom half of the head as it felt like everything was the opposite way round, how you roll it up ad have to pin it. Actually placing the grips in the hair in a way that would secure the padding was quite difficult as it was hard to get my fingers in without ruining the hair. 

    Then I did the right hand side and joined the two together to create one big roll at the back of the head, this was quite simple as I just had to take my pintail comb and tease the hair together covering any gaps. 


    The next step I found super difficult and that was going the top part of the heart shape to the bottom part of the heart shape on the sides of the head as Ellie wanted them all to be connected. There was quite a large gap in between the two and not as much hair to cover it so I had to work with it a fair bit with my pintail comb to pull the parts together, the hair became a bit loose at this point also so i had to try and pin it all up. In the end though it did come together with a little bit of frustration!


    The last part of the hair design was just to add individual pearls into the hair, the pearls were pins so it was easy to slip them in and make sure they would stay. Ellie wanted the pearls to be symmetrical which made it a little bit harder because in some cases there was more hair on one half of the head than there was on the other so sometimes the hair pins would go in well one side but just fall out on the other side. 

    All in all I a very happy with the amount I have practiced this design and how far its come together, it looks very simple but it was actually pretty difficult and challenged my practical skills in a good way which I am grateful for.